
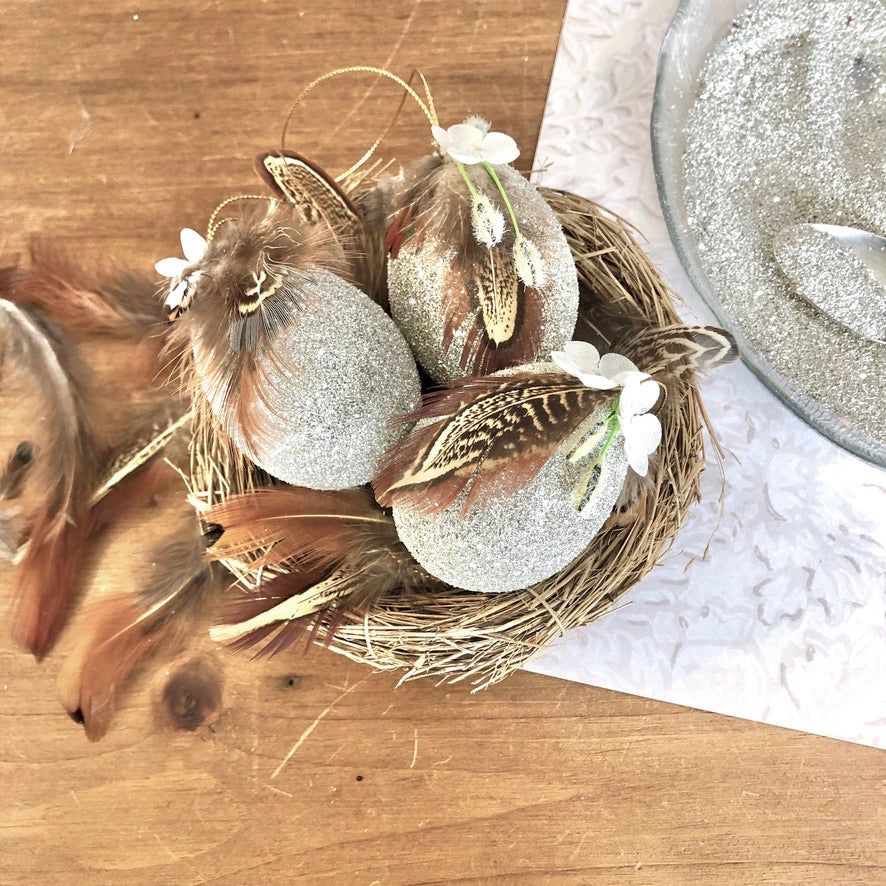
Glass Glitter a Kraft Egg
Every Spring it seems, we come up with a new version of a glittered Kraft egg. This year is no different. We used sterling glass glitter with some natural elements, which can become part of your spring decor for longer than the season. Using the sterling silver glitter is especially nice for a nature themed egg, as it will eventually start to oxidize with exposure to air. Meaning it will darken over time giving it an aged look.

Last year we used a pale pink - Cameo, and a pale green - Sage, glass glitter.


And in 2018 we were into pastels.

Regardless of the color of glass glitter the basic instructions are the same. Except this year we painted the Kraft covered egg with silver metallic paint to give the glitter better coverage. We did not paint the egg in previous years and the coverage was great.

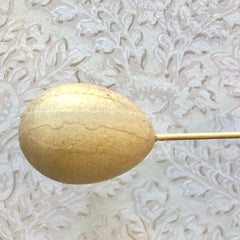
You will need a skewer to make painting and glittering a lot easier. Some of the eggs are harder to poke than others, but be patient while carefully pushing and twisting the pointy end of the skewer into the pointy end of the egg. Once the skewer pierces the egg, push in all the way through and gently poke it just to the other side so it won't dangle on the skewer.

Paint the egg, if desired, with a color that is close to the chosen glass glitter color, set aside to dry. We use a juice glass or Styrofoam.
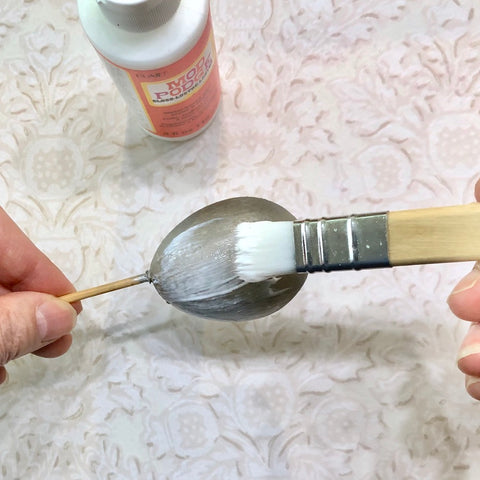
Once the paint is dry, completely cover the egg with Mod Podge, or slightly thinned white glue with a paint brush. Give it a good even coating. Make sure to cover all over the egg.

Right away, holding the egg over a dish with the glitter, spoon the glass glitter on the egg turning and sprinkling until it is completely covered. Make sure you allow the glitter to fall back into the dish. You can actually lay the egg in the glitter to really get it covered
Set aside to dry. It will take about 10-15 minutes for the glue to set depending on your location.
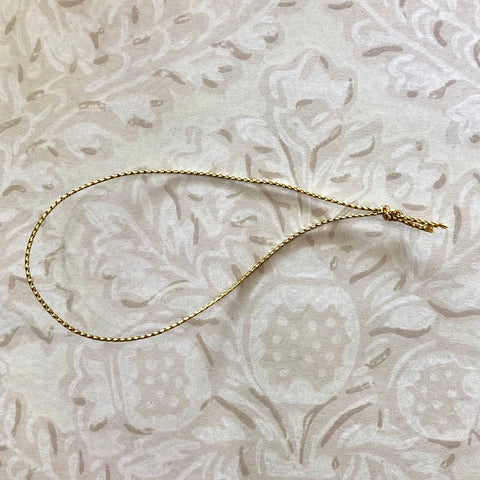
Tie a knot in the end of a folded 9" piece of cord or skinny ribbon.
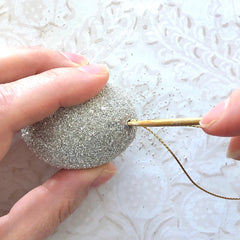

Take the dry, glass glitter covered egg off the skewer and poke the knot into the hole, using the skewer. Apply 3-in-1 Craft glue to the hole and cord.
Decorate as desired.
To see the items we used for these glass glittered eggs, view the Glass Glittered Egg Project