
Tapestry Needle Book - Tutorial

Who doesn't love a needlebook? They are charming little keepers of the small tools one needs when hand sewing, embroidering, cross stitching and mending. I have had versions of organizing my sewing tools all my life. The odd tin, pincushion, basket or even a canning jar. All are useful and serve different purposes.
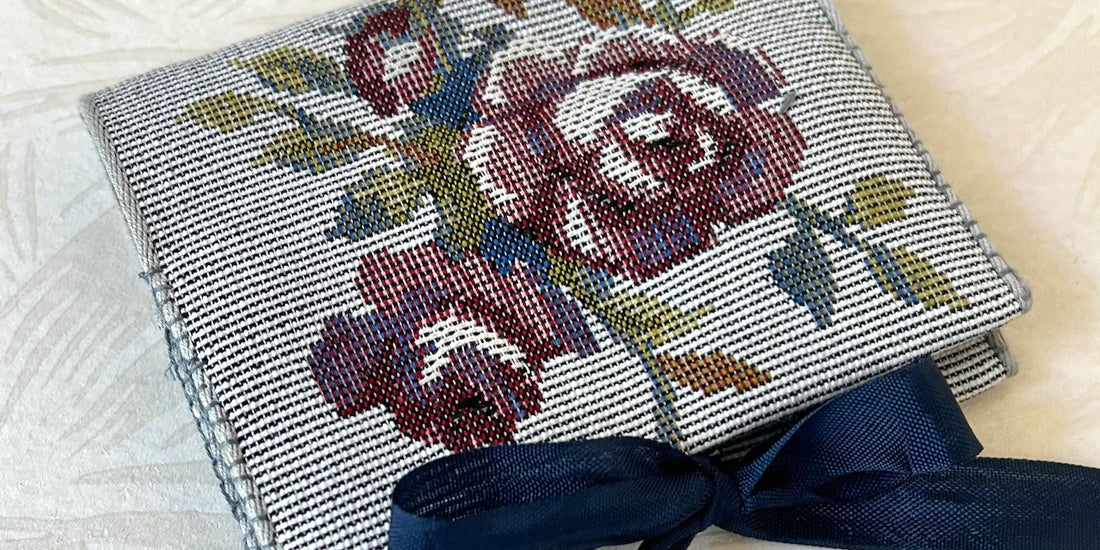
Being surrounded by such gorgeous ribbons and trims, I am constantly envisioning the possibilities. This particular tapestry ribbon has caught my eye lately. I imagine it sewn across the top, bottom, or sides of draperies, I know right?
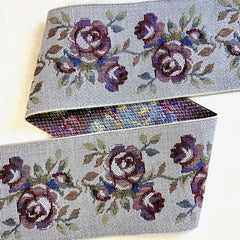 With it's 4" wide width, neat backside, and metallic accents this trim is stunning, and it comes in many colorways, all equally beautiful. The distinct floral groupings make this ribbon especially suited for a needlebook cover.


4. Fold in the tapestry ribbon on the side folds creating the inside pockets.

5. Sew a blanket stitch across the top and bottom edges of the front and back pockets, using 2 strands of embroidery floss.
Note: If you like, you can continue the blanket stitch across the top and bottom of the needlebook for decorative purposes.

6. Grab a piece of felt and cut to 7" x 4 ½". Using a scalloped scissors, pinking shears, or cutting blade, trim the felt to fit inside the book. Ours measures 3 ⅞" x 6 ½".
7. Fold the piece of felt in half, press. Open the felt and align it with the center- fold of the tapestry, hand stitch through all thicknesses.
Note: If you like you can make 2 or more felt pages, just repeat step 5, layer and stitch as in step 6.

8. Position a 12" length of the rayon seam binding ribbon, or tie of choice, to the center of each side of the needlebook, tucking under the ends stitch to the tapestry at the fold, then hand stitch vertical rows that can contain small tools etc. Only stitch through the top layer of the tapestry, keep the pocket functional, do not stitch through to the back. Stitch again right at the front of the book edge.

9. Now you can fill it with your special tools.


Enjoy,
Michelle